This guide will explain basic controls, the user interface, and mechanics presented throughout missions in the game.
Note that while the game is still in its alpha stage, the UI can still be improved, and we will be updating this guide as we find ways on how to make the player experience better.
For more in-depth walkthroughs and tutorials, subscribe to our YouTube channel and follow us on Facebook[facebook.com] and Twitter.
Basic Movements
Camera Movements

Rotate: Q,E or middle mouse drag. Pan: W,A,S,D. Zoom: Scroll Wheel.
You can also pan the camera while clicking the Middle mouse button.
You can adjust the camera pan, zoom, and rotation speed in the pause menu.
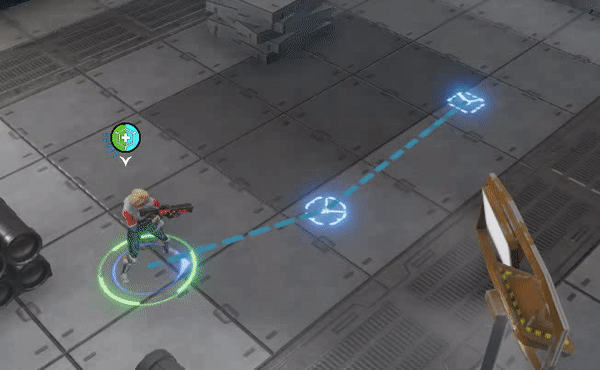
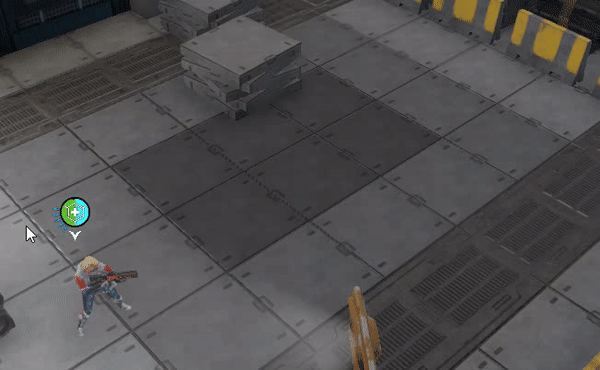
Unit Selection/Movement

Left click/drag to select one or multiple units.
Right click gives a selected unit(s) a waypoint.
Z to undo commands/waypoints
Note: You can only give commands while selecting one or more units.
Pause Mode

Press Spacebar to pause the game at any time. Press again to unpause the game. The game automatically pauses on certain situations:
- If player selected one or more units
- If a unit triggered Reinforcements (See Reinforcements tutorial)
- If a unit health drops down to certain percentage
- If a unit power drops down to certain percentage
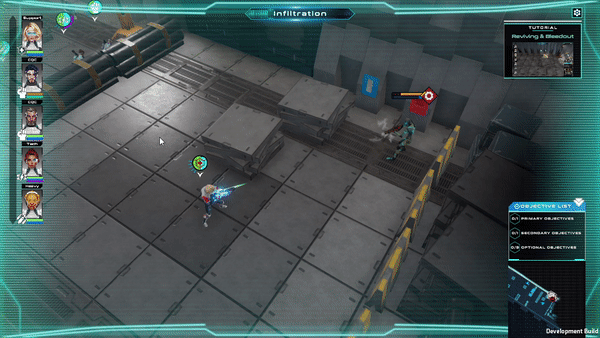
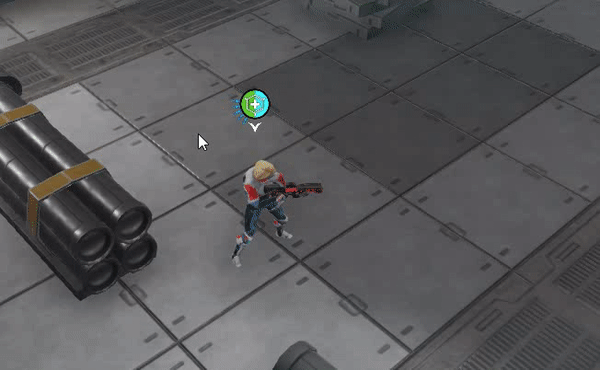
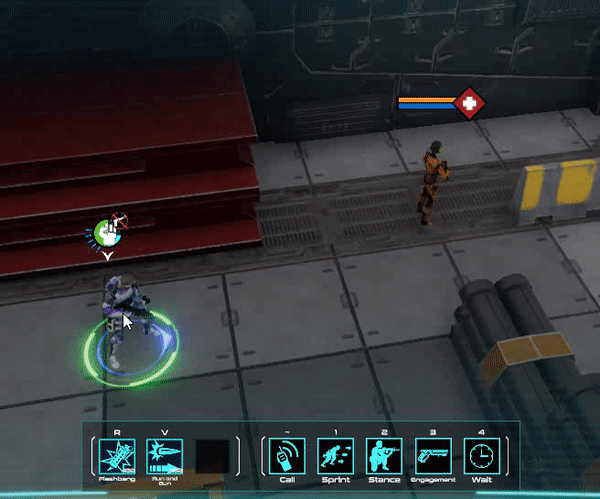
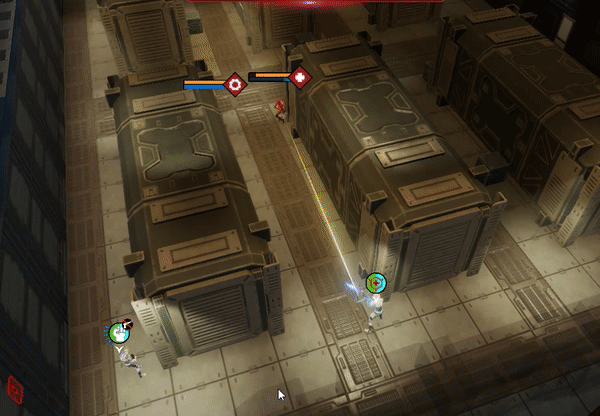
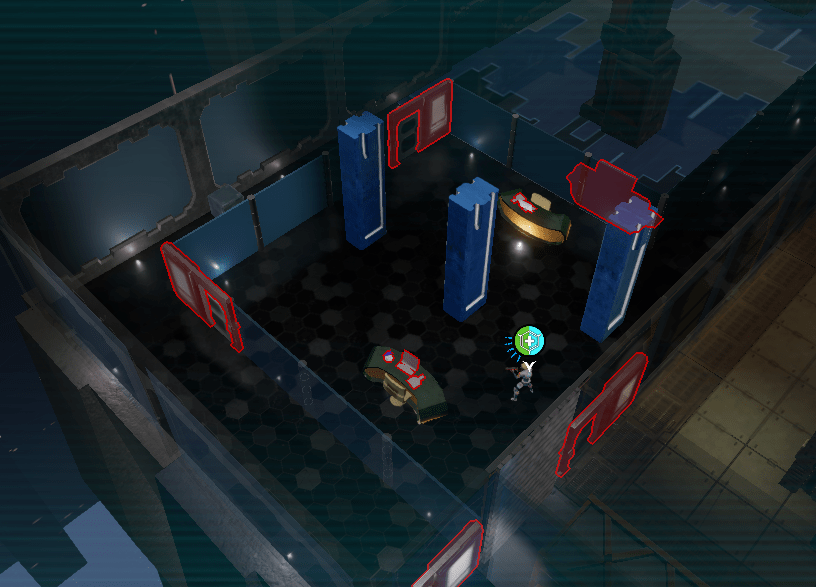
Reviving & Bleedout

While any unit is selected, right-click on a downed Unit (highlighted red) to start the reviving process. Take note that reviving units require some amount of Power from your selected unit.. Support units have a passive skill called “Optimized Revive” that gives them the ability to heal faster.
Cover Mechanics

With a unit selected, hover over an object that looks like cover. When a white indicator appears, right click to send the unit to cover. When the indicator is red, it means that the current cover is not available.
Full Cover

Half Cover

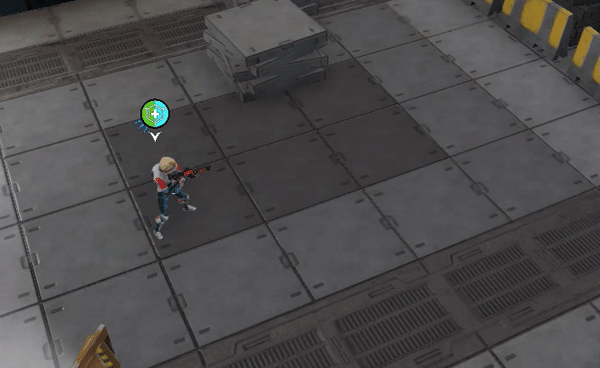
Targeting
With a unit selected, Right Click an enemy to target. Otherwise the unit will select their own target.
Note: Player units will automatically shoot a target if that unit is NOT on stealth mode and if the target is within the Effective Weapon Range (see Effective Weapon Range tutorial)
Targeting

Right click drag on a waypoint to change the look direction on that waypoint.
You can also change the look direction of a unit by Right click dragging the selected unit

Note: Player units cannot see the enemy while looking on the opposite direction, thus will not start shooting automatically.
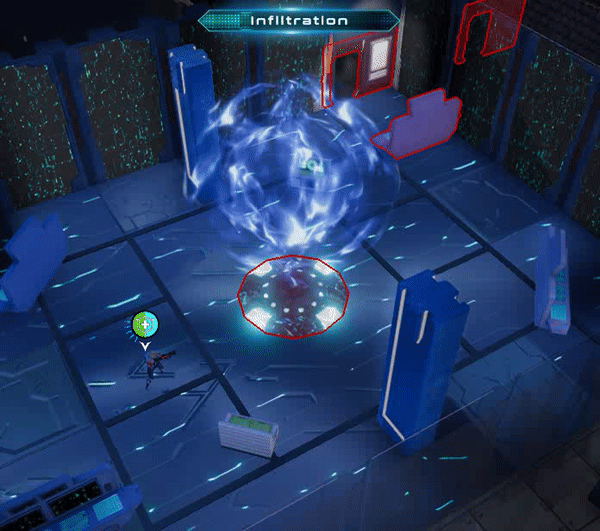
Hacking and Interaction

Right Click any object that has a highlight to start hacking. Doors, Terminals, Stations and Objectives all need to be hacked before they can be used.
Note: Keep an eye out for security terminals, once hacked it will open every door that it is connected to. (See Hacking Terminals tutorial)
Health and Power Station
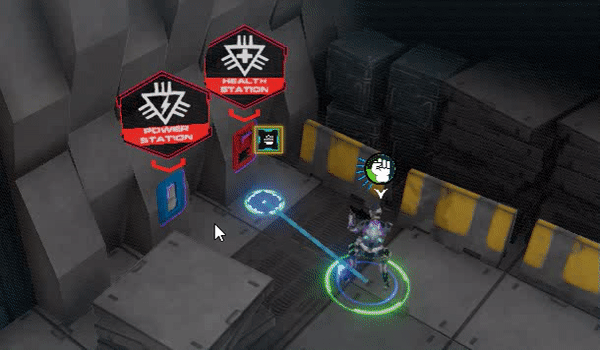
Health and Power Stations provide a fast way to heal/power up in mission. Look for them!
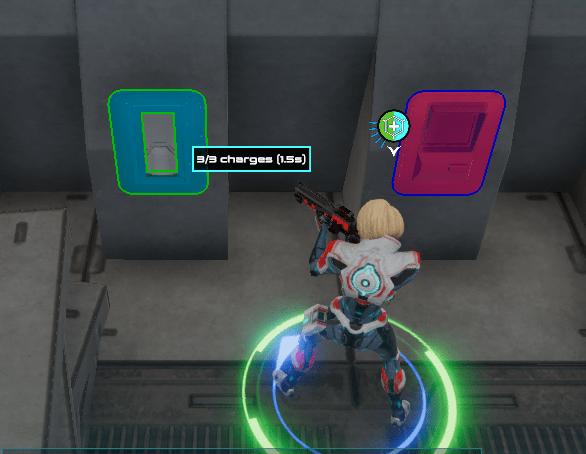
Note: Health and Power stations has limited uses. Use them wisely.
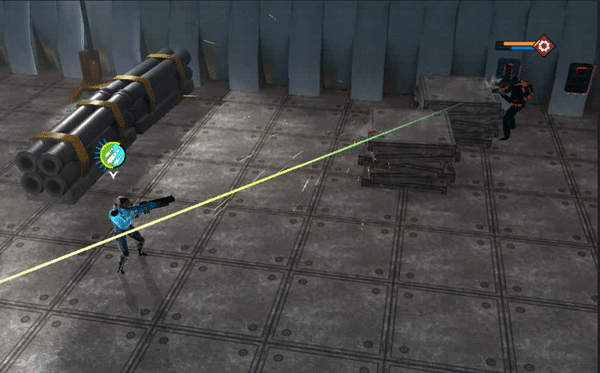
Effective Weapon Ranges

Units cannot engage enemies outside of their Effective Weapon Range. View their field of view cone by holding Left Shift.

You can also view unit’s EWR while creating a waypoint and dragging.
Note: Infiltrators has the shorted EWR while the Sniper has the longest EWR.
How Damage Works
Each of your units have two attributes: Health and Power. Power is both a unit’s armor and the resource for your abilities. If a unit runs out of Power, it is only a few hits away from being downed.
This means that the more damage you take, the less you can use your abilities. Conversely, the more you use abilities, the less damage you can take before being downed.
Opening Doors

With a unit selected, Right Click doors to open them. If the door needs to be hacked first, they will perform a hack and then open the door.
Extraction
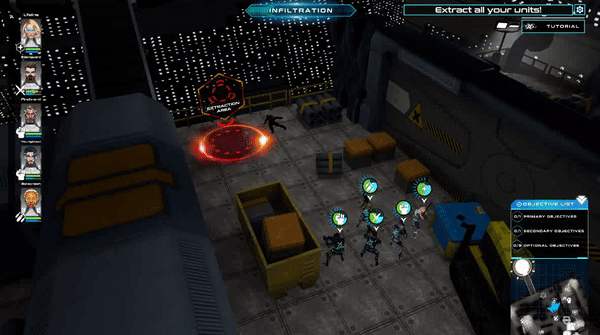
Get all your live units to the extraction point to finish the mission.
Note: Make sure not to extract all your units while there are still bleeding out units!
Extraction

Enemies will call for reinforcements if they see any of your units. When the reinforcement timer is over, enemies will start to spawn into the level indefinitely. Get out before they arrive!
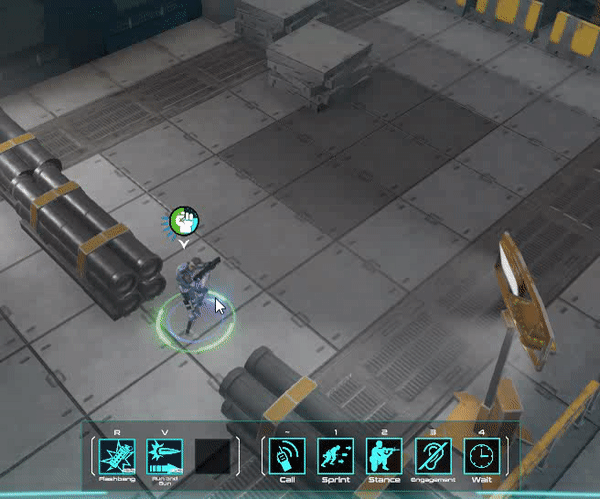
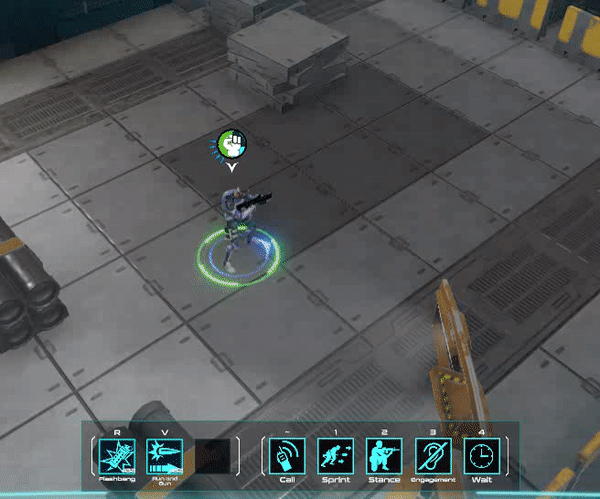
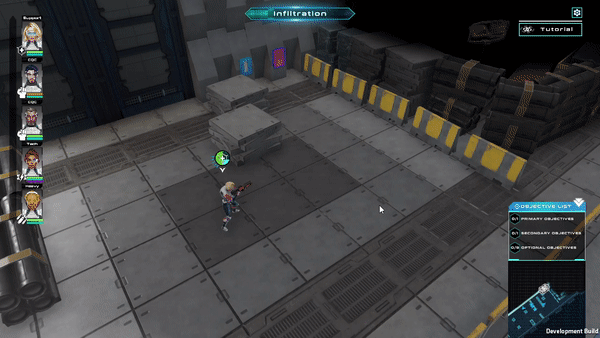
Advanced UI
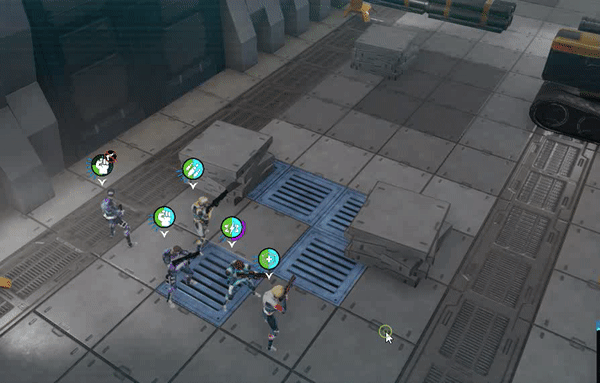
Hold shift to view all the information about all your units without having to select them. Mouse over waypoints or units to view their field of view and their effective weapon range.
Command Queues
You can give commands to both player units and it’s queued waypoints!
Select the unit to give commands instantly to that unit.
Select a waypoint while a unit is selected to give commands to that specific waypoint. Once that waypoint is consumed by the unit. It will transfer the queued commands to the unit.
You can also queue abilities on waypoints!
Player Commands
- Call GoCode: Call GoCode.
- Wait GoCode: Stops unit and prevents execution of additional commands until corresponding GoCode is called.
- Sprint: Adds a sprint command to selected unit or waypoint. Note: Units cannot sprint while in Stealth Engagement Mode or while Crouched.
- Stance: Adds a Stance command (Stand / Crouch) to selected unit or waypoint.

- Engagement: Adds an Engagement command (Assault / Stealth) to selected unit or waypoint.
Note: In Stealth mode, units will not automatically engage enemies.
Z: Undo last command given.
Hacking Terminals
Hacking a Terminal will automatically hack any Door, Health / Power Station, Objective attached to the terminal. Collecting Intel from other missions will give you this information.
Flanking
Try to use real military tactics against the enemies! If you can flank an enemy in cover, they will be forced out of cover, and therefore expose themselves.
Collecting Objectives: Primary
Collect the Primary objective here. Once you have collected all the primary objectives in the game, you are then able to proceed to the last level in the game. Always try to collect the primary objective, but remember, you also need to prioritize other objectives as well!
Collecting Objectives: Secondary / Loot

Collect Secondary Objectives by checking your map, finding their location in the mission, and hacking the object that contains the objective.
Go Codes

- GoCodes allows you to setup complex and coordinated attack routines with your units. There are three basic types (A, B, C), and a special that are automatically called by abilities.
- A WAIT GoCode prevents any additional actions from being executed until the corresponding GoCode has been called. When a corresponding GoCode is called, this command deletes itself, and allows the unit to proceed with it’s plan.
- A CALL calls a GoCode, removing any WAIT commands of the same type currently in play.
Squads
Your units are deployed into Squads, or separate groups that are inserted in the level from different locations. Managing them separately will also be a challenge.
Intel
Objects that are highlighted over Fog Of War are objects that you have intel for. Objects that are highlighted on sight, are objects that you can interact with, but you didn’t have the intel for.
Minimap and Mission Plan
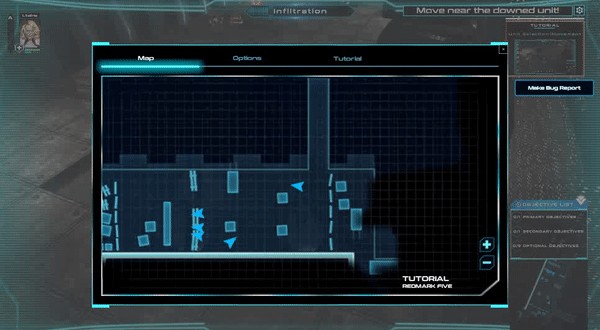
Click the minimap to show the mission plan. Here you can view the same plan you put together in the corkboard, but also including Fog of War and your unit’s current positions in the mission

